


Hello Everyone,
So while I was on the hunt for the perfect handmade gift for friends I came across a geek wallet that had some of the elements I was looking for but was not yet the perfect gift. So.. I added some very essential pockets and made it the perfect all-in-one wallet for the "hard to get" person on your list. Its the perfect personal organizer. I am soooo happy with the outcome that I have created this tutorial for you. This wallet was created to hold your phone, MP3 player, credit cards, USB's, money and anything else you need to bring along.

Materials Needed:
-Download Personal Organizer pattern
(Tape pages together)
-Fat eighths of desired fabric for body
-Large scraps of desired fabric for pockets
-Pellon Shape Flex Fusible
-Pellon Fleece Fusible

Notions Needed
-5 Buttons
-1 Snap closure
-Elastic

Cutting Directions
-Inside and Outside Panels Cut 2
Inside Pockets:
-Big Pocket Cut 2
-Phone Pocket Cut 2
-Credit Card Pocket Cut 8
-Mini Pockets Cut 4
Outside Pockets:
-Large Credit Card Pocket Cut 4
-Bill Pocket Cut 2

Interfacing
-Fuse Pellon Fleece Fusible to Inside and Outside Panels
-Fuse Pellon Shape Flex Fusible to both wrong sides of Big Pocket and Phone Pocket
-Fuse Pellon Shape Flex Fusible to only one wrong side of Bill Pocket and Large Credit Card Pocket

Sewing Instructions
-Place Big Pockets right sides together and begin by sewing bottom edge with a ¼” seam allowance
-Leave a 1” gap in bottom for turning
Sew around three remaining edges
Pockets
-Repeat same steps on phone pocket
-Repeat same steps on bill pocket
-Repeat same steps on large credit card pockets
-Repeat same steps on mini pockets
-Repeat same steps on credit card pockets
-Clip all four corners on each and trim off excess fabric for turning

-Turn all pockets right side out and poke out corners
-Press turned pockets

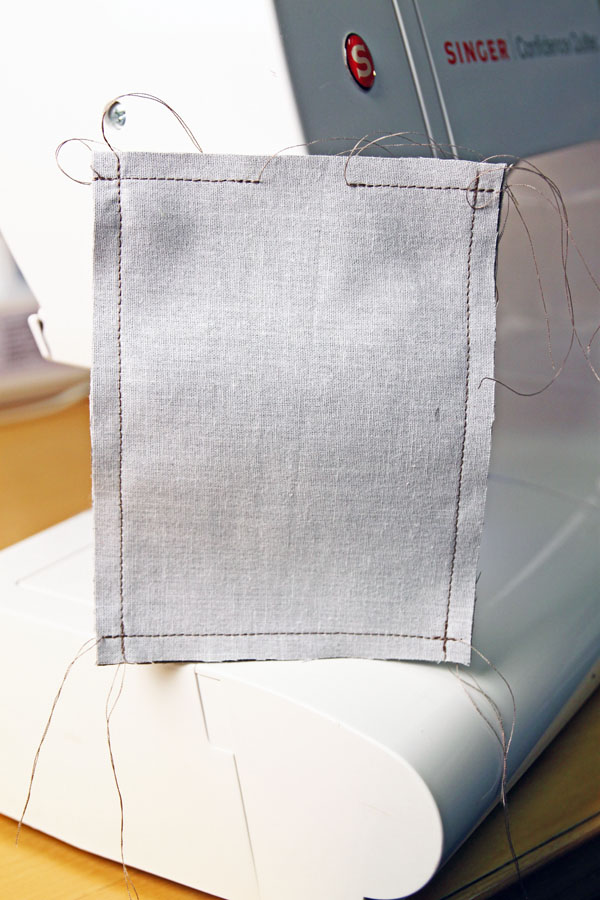
-Top stich top between 1/8”-1/4” along edge of each pocket depending on desired look
-Make sure to backstitch or hand tie ends to prevent unraveling

-Lay credit card pocket on big pocket
-Measure 3” up from bottom edge and pin first pocket in place

-Sew bottom edge of pocket being sure to pass through both credit card and big pocket
-Align bottom pocket with bottom of big pocket

-Sew bottom edge of pocket being sure to pass through both credit card and big pocket
-Place final two pockets in between sewn pockets and sew bottom edge of pocket one at a time

-All pockets should be spaced evenly making sure to back-stitch or hand tie ends
-Place and pin mini pockets to big pocket
-Stitch bottom edge of mini pockets one at a time
-Stitch sides of mini pockets one at a time making sure to backstitch or hand tie ends

-Place and pin centered phone and big pocket 1 ½” from edge and 1” apart
-Sew down sides of phone pocket one at a time making sure to back-stitch or hand tie ends
-Sew bottom of phone pocket making sure to back-stitch or hand tie ends
-Sew down sides of big pocket one at a time making sure to keep credit card pockets in place back-stitch or hand tie ends
-Sew bottom of big pocket making sure to back-stitch or hand tie ends

-Place and pin first credit card pockets on outside panel 1” down and 1” over from edge
-Place and pin second credit card pocket 1” apart from first pocket
-Place and pin bill pocket centered between credit card pockets and 1” up from bottom edge
-Sew bottom of bill pocket making sure to back-stitch or hand tie ends
-Sew down sides of bill pocket one at a time making sure to back-stitch or hand tie ends

-Prepare buttons and optional notions
-Cut elastic into two 3” strips and one 2” strip
-Mark elastic placement on inside panel

-Use clear tape to hold elastic ends together

-Pin elastic onto inside panel

-Place inside and outside panels right sides together and pin all around
-Sew bottom edge ½” seam allowance leaving a 2” opening for turning
-Make sure to back-stitch over elastic to reinforce seam

-Sew sides of panels with ½” seam allowance
-Sew top edge with 1/2” seam allowance making sure to backstitch over elastic to reinforce seam
-Clip all four corners on each and trim off excess fabric for turning
-Turn entire wallet right side out and press

-Sew buttons on both sides of wallet 1” from edge and ½”-1” down depending on button size

*Snaps inside pockets are options and can be hand sewn
Tip: For the LARGE pocket a snap closure will ensure that your electronics stay in place and for the smaller pocket I suggest using a string/ribbon to tie down your phone so it does not slip out.

This Gizmo wallet is great for just about anyone. It holds credit cards, USB's, your phone and MP3 player all in one spot. No more going through your purse or carrying all these items separately. Everything is safe and snug inside the fleece padding so nothing gets scratched.

Here is a picture of the second one that I made in one of my Plexiglas clutches I make. They will be available soon in my store. They have changeable knobs for the top.
Hope you enjoyed the pattern and if you do make it please share it with me. I love seeing how this works for everyone!
Leave me a comment below letting me know "Who is this gift perfect for?"
Happy Sewing!
From Megan With Love
No comments:
Post a Comment